Podcast: Play in new window | Download (Duration: 23:33 — 32.9MB) | Embed
Subscribe: Spotify | Amazon Music | Email | TuneIn | Deezer | RSS | More
You’ve clicked the validate button then hit the apply now button but cannot seem to set up rich pins on Pinterest.
Many days, weeks and months have passed and the promise of success on Pinterest is only a dream.
Everyone keeps saying that the process is easy.
You are constantly seeing report after report of fellow bloggers who managed to increase their traffic by 200%, 500% and even 900% in a short time.
Truth be told, you are this close to either tearing your hair out or totally avoiding any post that mentions Pinterest.
Oh, how your heart yearns to experience that success yourself.
Is it you, or maybe your blog. It could even be the platform you’re using or just the theme.
In this post, I will take you through a number of ways where you too can finally pop a bottle of bubbly after you set up rich pins on Pinterest.

What on Earth are Rich Pins Anyway?
In case you are brand new to Pinterest and have not yet had to go through the agony called rich pins let me explain.
Back in 2014, Pinterest introduced a new feature called rich pins which in layman’s terms means that more details can be seen by the end-user on your pin.
Depending on the type of pin, these details can include a larger title, more information in the form of two descriptions as well as a call to action button.
Let’s look at real-life examples.
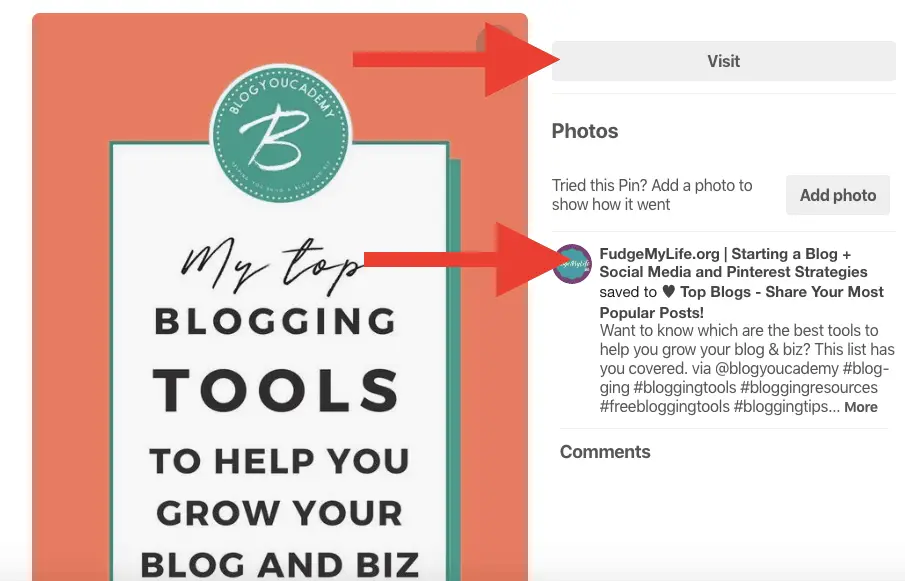
In the above image, you will see a Pinterest pin where the rich pin feature is not enabled.
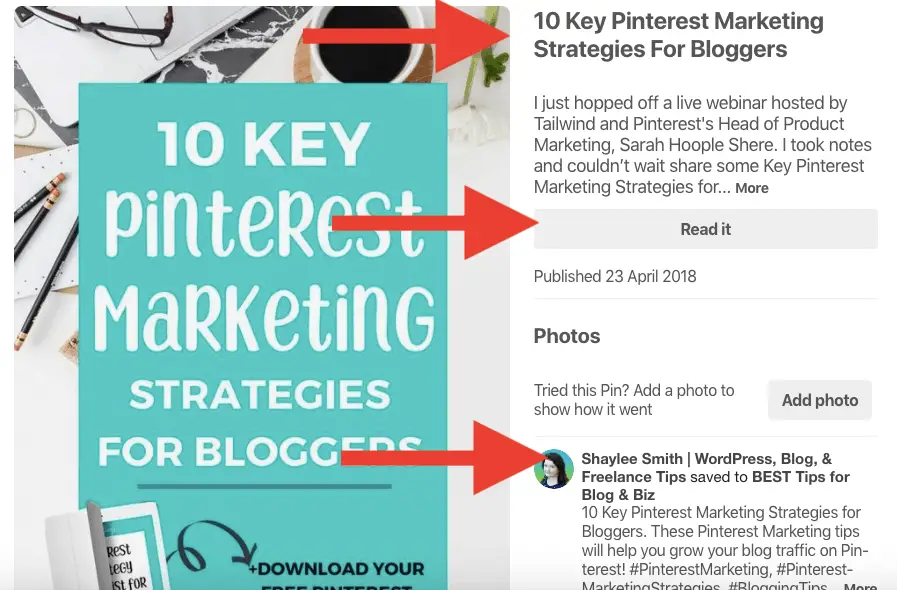
In this example, you can already see that there are a lot more details included on this pin.
This account has rich pins enabled for article pins so you can see much more information about this pin.
Types of Rich Pins
In case you are wondering if there are different types of rich pins, the answer is yes.
When the rich pin feature was launched there were 5 different kinds of pins.
- Recipe pins
- Movie pins
- Article pins
- Place pins
- Product pins
It means that a wide range of businesses was being accommodated with this new feature.
However, at the time of writing this article only three types of pins continue to exist, recipe, product and article pins.
Pinterest also gives each business the option to remove rich pins should they decide to do this at a later stage.
You already saw an example of an article pin so let me show you what a recipe pin looks like.
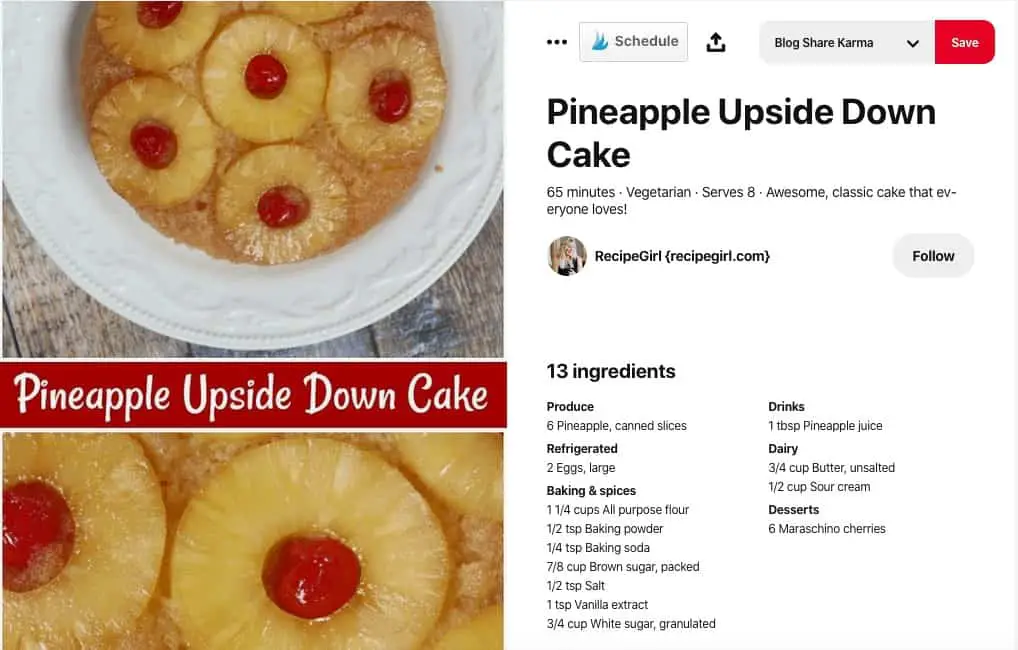
Some experts may argue that there is already so much information on this pin that users will not click-through.
However, if you look carefully you will notice that the method of how to make the cake is missing from the pin.
I think it is a clever way to check the ingredients before clicking through to the page.
5 Key Things to Set Up Rich Pins
Before looking at the process to set up rich pins let’s look at the five (5) key things you need to have to make this work.
- Blog post
- A tags plugin like Yoast or All Meta Tags
- Pinterest business account
- Pinterest boards with pins to the URL for validation
- Access to pin validator
Let’s look at each of these in a little detail.
1. Blog post
In order to set up rich pins, you need to have an existing article, recipe or product published and ready to go.
One key reason why many people fail at setting up rich pins is that they don’t have the required item like a blog post ready to be validated.
2. A Tags Plugin
In this post, I am specifically looking at setting up rich pins for a WordPress site.
If you are trying to do this for Squarespace go here. For Shopify try this link and for Etsy, you can find a great resource that explains how to do that here.
3. Pinterest business account
A key aspect of getting rich pins enabled is the fact that you need to have a Pinterest business account.
Rich pins will not work on a personal account at all.
4. Verified business account
It is possible that you may have set up a business account on Pinterest but you forgot to get it verified.
If you are unsure what I mean here is a quick example.

5. Pin Validator Access
The final step in the process to set up rich pins is the application process via Pinterest.
Having the link to the pin validator is essential to the rich pins process.
Rich Pins Set Up On Pinterest
As I mentioned previously this process to set up rich pins is focused only on self-hosted WordPress blogs.
The first thing you will need to do is install a plugin that helps with tags.
Many bloggers believe in the Yoast SEO plugin which works quite well but there are some instances when it does not work.
I will be adding a second option in case you don’t have the Yoast plugin.
In the meantime, head over to plugins and click on add new. Search for Yoast and you should see this in the results.
Install the Yoast plugin and activate it.
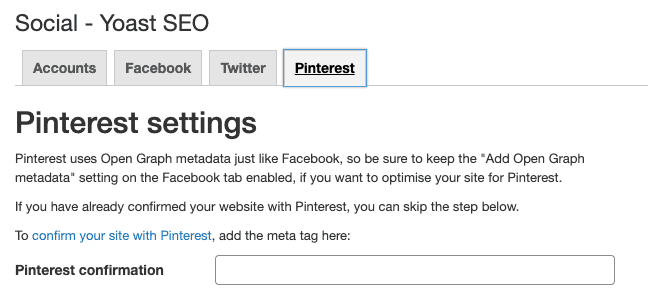
Head over to the ‘social’ option on the Yoast menu then ensure that open graph on the Facebook tab is enabled.
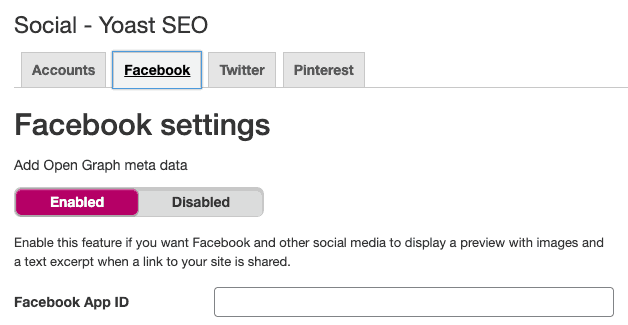
Click on the Pinterest tab and there you will see the option to confirm or verify your website with Pinterest.

Set up Rich Pins Without Yoast
I have encountered many cases where bloggers experience difficulty setting up rich pins using Yoast.
A great alternative is to use a generic plugin that is not specific to any brand.
The one that I found works most of the time is called All Meta Tags.
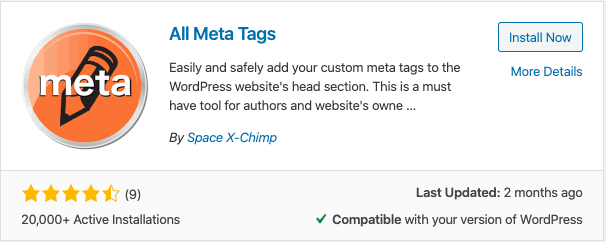
The plugin is by Space X-Chimp and looks similar to the above screenshot.
Go ahead and install it and activate it. Then find the Pinterest domain verification area.

Enter in the details that you got from Pinterest as indicated in the above screenshot.
Ensure that you click save then wait a few minutes for this change to propagate throughout your website.
Head over to the pin validator on Pinterest and enter a blog post, product URL or recipe post link.

Click validate and wait a few minutes and you should receive an email that looks like this one.
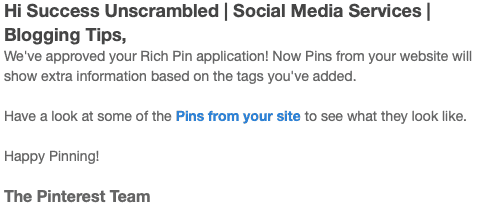
You may also see this approval screen after you click validate.
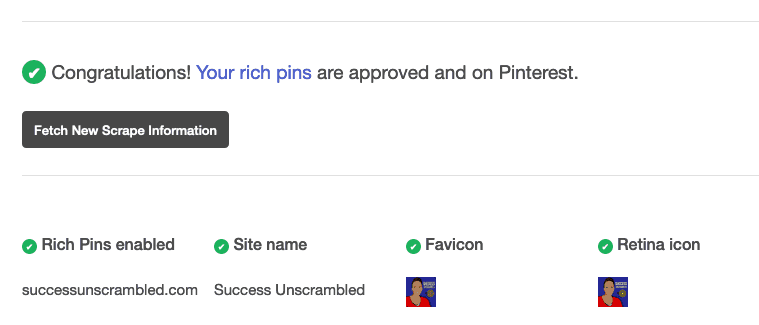
If you are still experiencing issues with setting up rich pins do send me further information or error messages that you received.
Real-Life Example from Scratch
In order to help you with your set up of rich pins, I decided to walk you step by step doing one myself.
As a blogger, I have several blogs that I have not yet set up on Pinterest so it would make sense for me to do one from scratch.
Here is a screenshot of my brand new Pinterest business account.
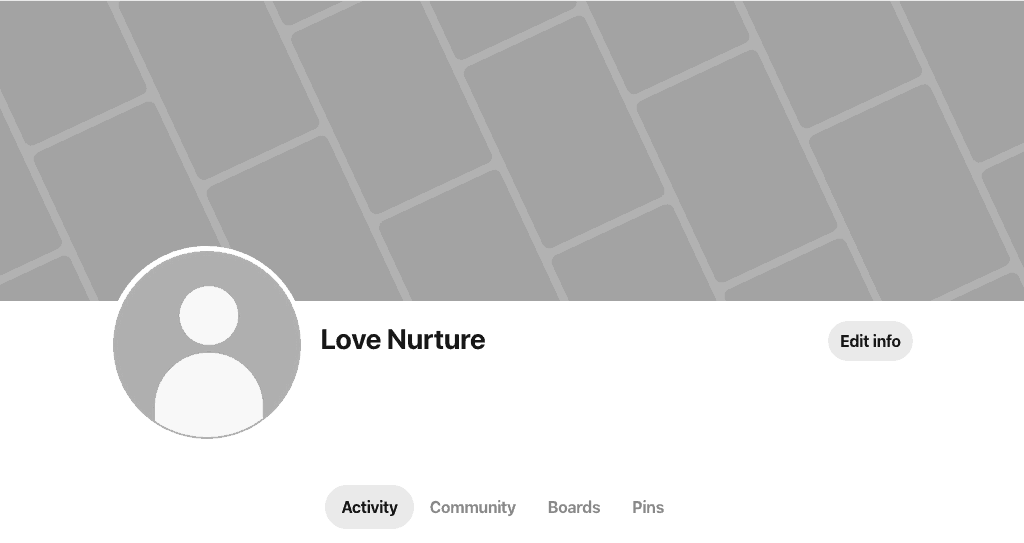
It was only created a few minutes ago so there is absolutely nothing on it just yet.
The first thing I want to do is edit the settings and claim my website. So, I downloaded the All Meta tags plugin and activated it on WordPress.
Here I identify the section where I need to place the Pinterest verification tag.

Now I can choose which domain verification option to use from the options available on Pinterest. I’ll go for Html tag.
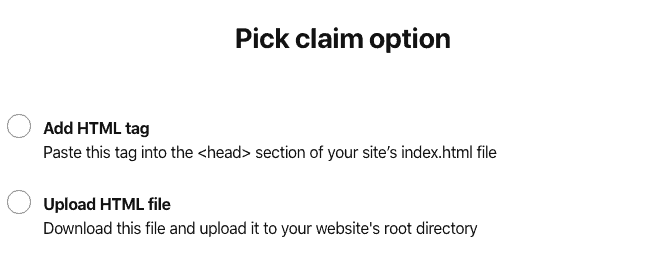
After choosing that option I am then presented with a tag.

I grab that code and stick it into the All meta tag plugin on my WordPress site. Pinterest lets me know it will take 24 hours to get that completed.
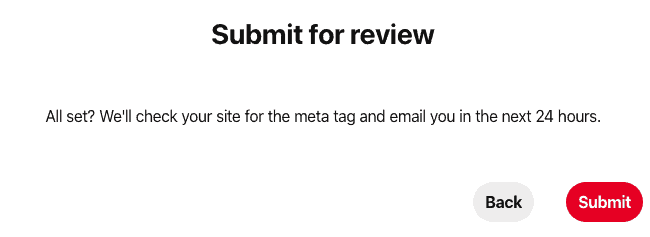
Before Setting Up Rich Pins
Before setting up rich pins I am determined to make my Pinterest business account look a little presentable.
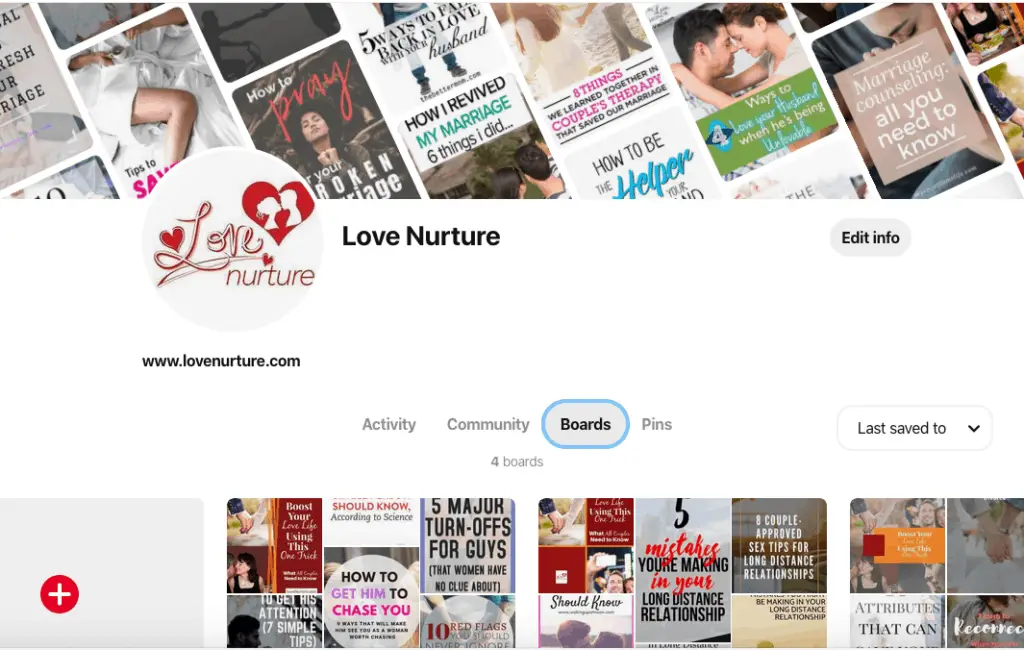
As you can see there is still no verified tick bedside my website address.
I also created 4 boards and filled them with other people’s pins. Following on from that I created 4 new pins, one for each board.
One thing I did is added a favicon to my site just to increase my chances of getting my rich pins validated.
Pinterest Rich Pins Validated
Although my site has not been verified yet I decided that I will go ahead and try to set up rich pins.
I went to the rich pins validator and entered the URL of my blog post that already has 4 pins on Pinterest.
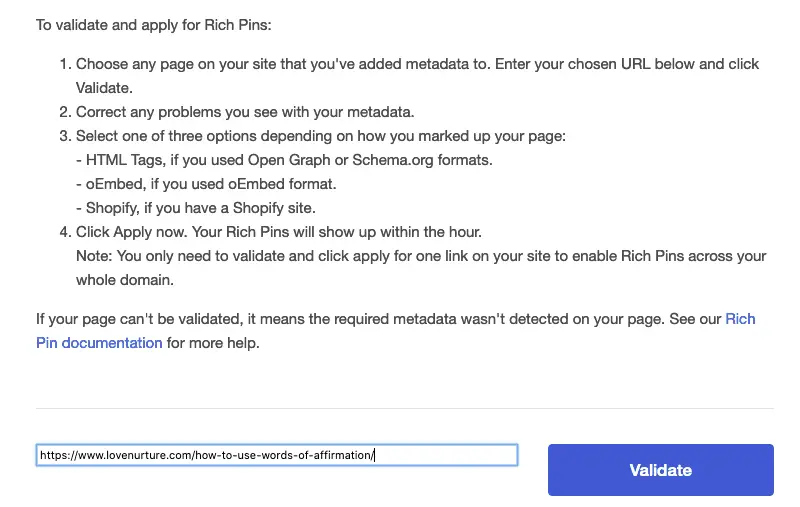
As you can see I have not added anything special to the blog post URL just plain and simple.
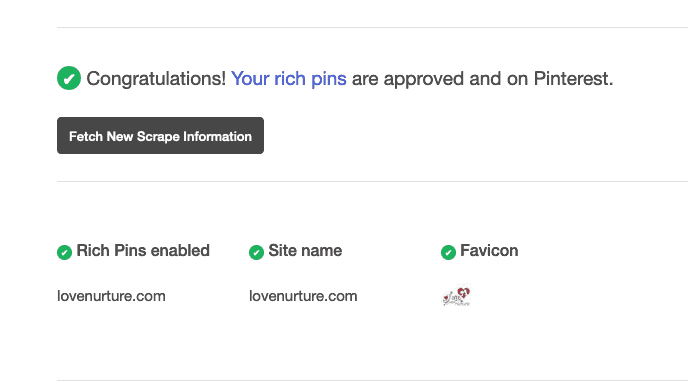
Now, right before your eyes here is evidence that the process to set up rich pins on a self-hosted WordPress site was pretty easy.
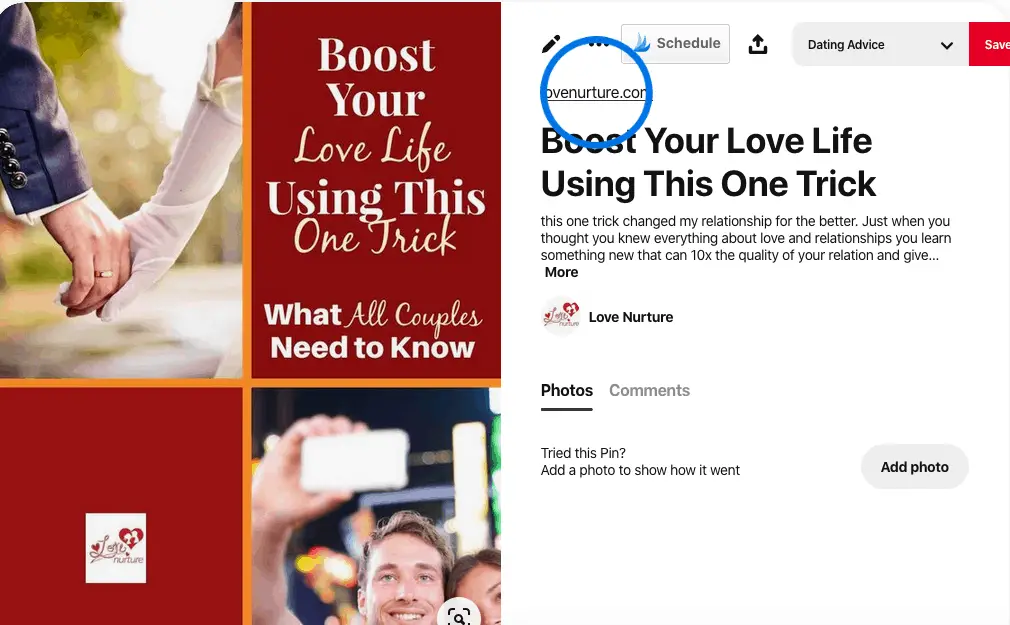
Above is the pin before I set up rich pins and below you will see that rich pins are now set up.
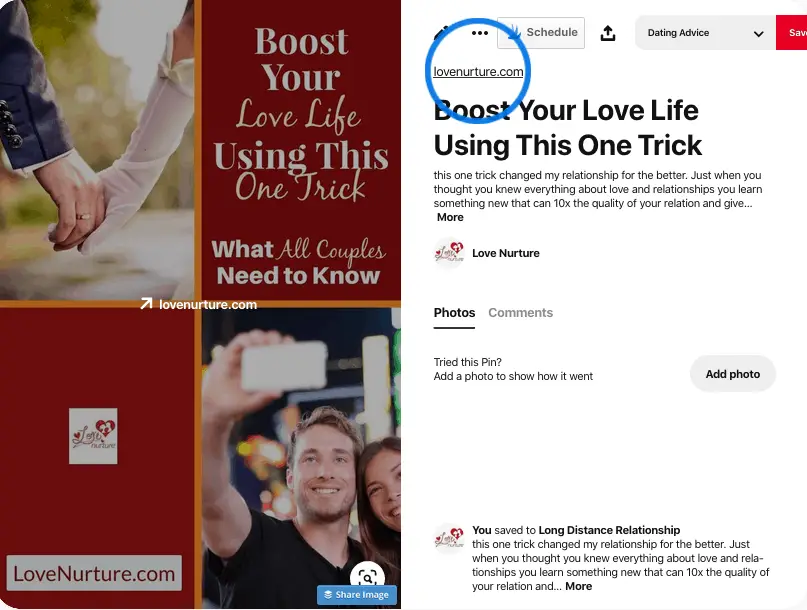
The task that took me a very long time to get done is creating the pins for the blog post.

Summary
So, there you have it I did what I said was easy and very straight forward from scratch.
It could be that the ‘All Meta Tags’ plugin is the secret to getting rich pins approved on Pinterest.
My advice is for you to try all these seven (7) items.
- Ensure you have claimed your website (mine wasn’t approved yet)
- Your account must be a Pinterest business account
- Create new pins for the blog post URL that you plan to validate
- Place a favicon on your site as well
- Enter the correct code in the meta tag plugin
- Create 4-10 boards and fill them with pins
- Complete as much information as possible
I don’t see why your rich pins validation would be delayed if you are doing all these things correctly.
Over to you what has been your experience with setting up rich pins on Pinterest?

Announcements
Remember to subscribe to the Success Unscrambled Podcast where you will be the first to hear what’s happening in the entrepreneurial and digital marketing world.
Your positive review of this podcast is vital to keeping it alive and running for the next 12 – 24 months so please leave a positive review for us on iTunes, Spotify or any of your favourite podcast players.
If you are just at the start of your Pinterest journey feel free to take a look at this Pinterest business account resource.
Are you trying to understand how to optimise your Pinterest profile? Then grab this resource that outlines everything about Pinterest SEO.
Are you an intermediate Pinterest user looking to take things to the next level? Check out my review of this advanced Pinterest course.
My focus continues to be helping ethical female entrepreneurs to become more visible online.
They can do this using proven organic marketing strategies here at Success Unscrambled.
40 thoughts on “How to Easily Set Up Pinterest Rich Pins In 24 Hours or Less [From Scratch]”
As a personal user, I enjoy Pinterest. It’s simple and easy. If you need a recipe or DIY ideas, you’ll see one right away.
Clari, thanks for that insight from a personal perspective.
This is a great guide! I remember that for me it was very easy to set up the Rich pins, a long time ago, but many people had troubles with the coding.
Joanna, it is so accurate what you said that there are a number of people experiencing issues with setting up rich pins.
Thank you for this! I have been wanting to get better on Pinterest! Especially with my pins.
Amber, we all can do with a little bit of improvement when it comes to Pinterest pins.
This is so helpful! Thank you for the tutorial. I’m new to Pinterest so I’m not using it nearly as effectively as I could be. I’ll look into my Yoast to see if I have rich pins enabled.
Holls, you are very welcome.
I need to start doing some rich Pins. This information is very helpful for me.
Tara, I’m glad you found it helpful.
Rich pins help improve your potential reader’s experience with your pins. They tell pinners what your article, recipe, or product is about. Think of rich Pins as ad copy for your post. This post has actually clarified how to do that. Thanks.
Monidipa, thanks for sharing your insight and experience.
I’ve been using rich pins since starting Pinterest and I swear by them! They’re very useful and really help improve reader experience.
Nyxie, that’s awesome, thanks for sharing.
Saving this so I can try it out. I have tried to set up Rich Pins several times and it never works for me. I feel like something is wrong. Will try your steps.
Krysten, it would be great to find out how it goes for you.
As a new blogger, this was a helpful article. I hope that I can use Pintrist to promote my blog. Thank you
Kristen, the results from Pinterest can be amazing if you follow the right steps.
When I first started blogging I have NO CLUE how to set up rich pins. I didn’t even know what rich pins were haha This is so helpful for people who are where I was and looking for information.
Jessica, I know the feeling, we were all there at some stage of our Pinterest journey.
I have had rich pins for a while now. But I didn’t know about the different types of rich pins. Is there some way to get the read it button though? Even though I am making pins for my blog articles it is still showing my profile favicon and name rather than the read it button. Unless that is what I am seeing because it is my account but others are seeing the read it button?
Marie, there are different types of rich pins and the read it button actually depends a lot on Pinterest. At the time of writing this comment, Pinterest is only showing the ‘Follow’ button.🤷♀️
Thank you for letting me know. I may try to google it to see if there is any way we can adjust that as bloggers. I kind of doubt it, but it may be worth checking. I will let you know if I learn anything. 🙂
Marie, that’s awesome, looking forward to your findings.
Haven’t used rich pins yet but you have explained it really well. Bookmarking this page!
I’m glad that you were able to understand all the steps.
These are some great tips. I am going to implement them right away. Thanks
Shruti, I’m so glad that you found these tips useful.
Oh you seem to have a great knowledge of Pinterest. That’s awesome. I didn’t know you could have a business account on this platform. Interesting to know.
Stephanie, yes there is the option to have a Pinterest business account and the great thing about it is that it is a free account.
Rich pins are so important for businesses and recipe bloggers! Thanks for this in depth article.
Caitlin, you are very welcome.
This is gold! There is such a big difference between the pinterest rich pins and the ones that are not. This is an excellent guide! It’s something I wish I had when just starting out. Thank you!
Candace, thanks for your awesome feedback.
Thank you so much for this article! I have a good amount of Pinterest traffic but my pins don’t often convert and this is probably why!
Cindy, it’s so good to know that you are getting a good amount of traffic from Pinterest.
Thank you so much for this handy guide. I will have to try this out. I’m not the best when it comes to Pinterest. I do love trying though.
Lisa, certainly give it a try and see how it goes for you.
I absolutely love your pinterest advice. Im gonna put them to use during this quarantine lol
Amber, I’m so glad that you found it useful.
Comments are closed.